
Leading brand in china's Business equipment manufacturer
Certificates
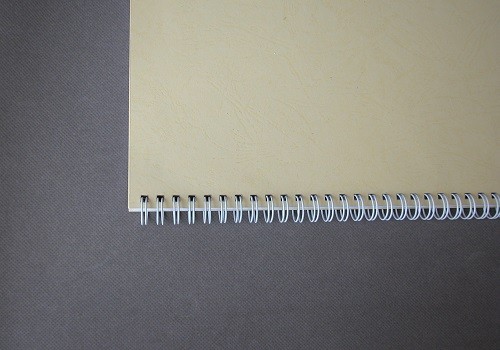
Binding a perfect notebook
Binding a perfect notebook
Wire binding a document is very easy and usually involves only a few simple steps.
STEPS FOR WIRE BINDING
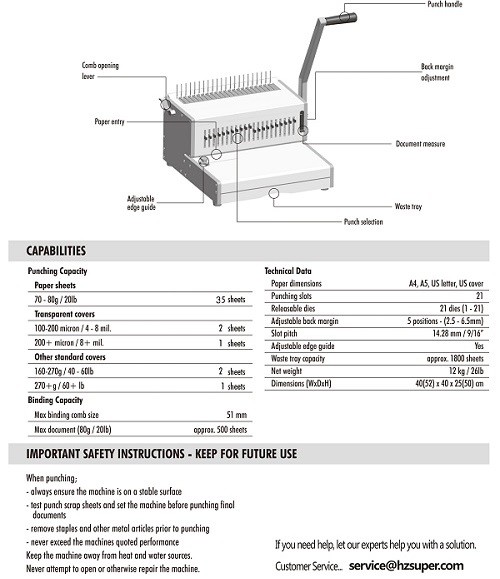
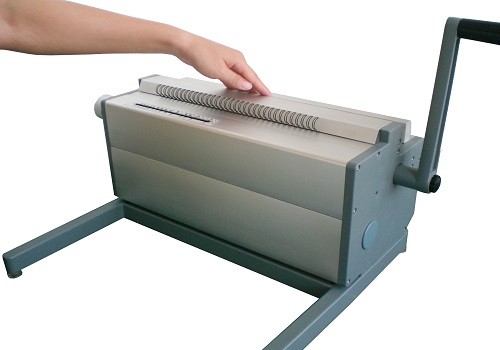
1. Set up the wire-binding machine. If equipped, adjust the margin depth, guides and punching dies as needed. With wire binding you will also need to adjust the wire closer to work with the diameter of wire you will be using.
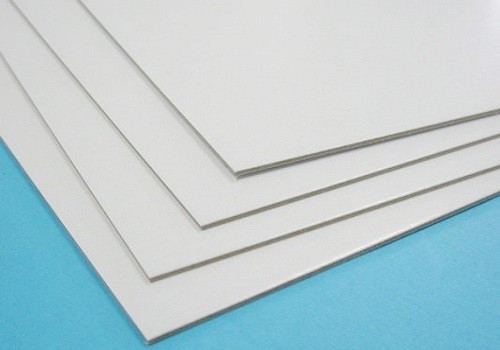
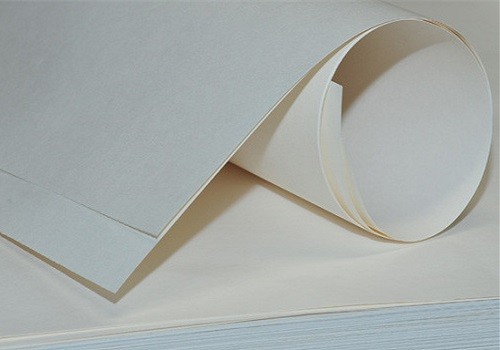
2. Assemble the book to be bound. This includes both the cover sheet and back cover.
3. Select the first pieces of the book to be punched. This is determined by the maximum amount of sheets your binding machine can punch at once. Please be aware that punching the maximum amount of documents rated for your machine will wear out your machine faster that if you punch 80% of the maximum amount.
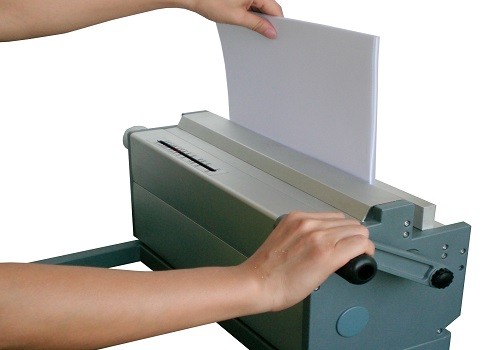
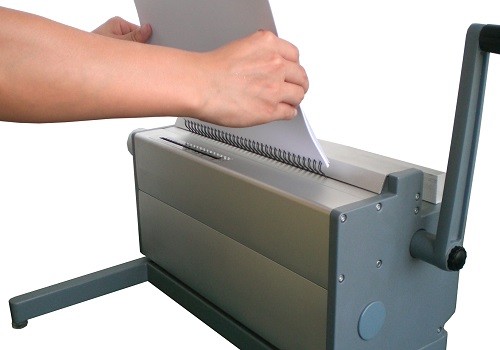
4. Now punch the paper. As each stack of paper is punched, set it to the side. Make sure that the punched documents are in proper order. Punching may be done by pulling a handle or pressing a button, depending on the wire-binding machine being used.
5. Take the punched paper and jog it together, making sure the holes are properly aligned. Put the last sheet of paper on the top of the document being bound. This will help hide the spine of the wire-binding element once the binding process is complete.
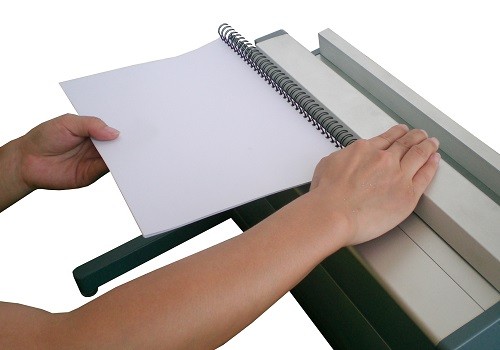
6. Place the binding wire element through the punched holes of the paper
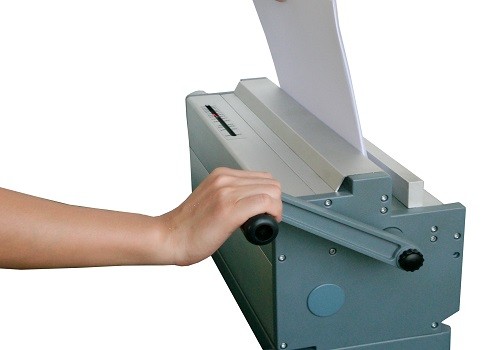
7. Place the edge of the book, with the wire, into the wire closer and close the wire.
8. Remove the book from the machine and make sure the wire is properly closed.
9. Take the back sheet of paper, previously placed on top of the document being bound, and turn it to the back of the document
10. You are now done wire binding a book and are ready to move to the next book to be bound.
Just tell me what you want, a customized product is welcome!
navigation
Contact Person
- Name:
- Lois
- Tel:
+86 571-88963506
- Email:
- marketing@hzsuper.com
- Skype:
- supubinding
- Address:
- Jingda Road,Shanlian Development Zone,Sandun,Hangzhou,China,310030
subscription
QR code